REL SW 5.1.1 SWELL OMB Appendix A8_Instructions for Video
Regional Educational Laboratory (REL) Southwest Write to Succeed Evaluation
REL SW 5.1.1 SWELL OMB Appendix A8_Instructions for Video
OMB: 1850-0994
Appendix A8. Video Recording Instructions
Introduction
Write to Succeed is an important study designed to test innovative methods for improving English learner students’ English language, and all students’ literacy and writing skills. Your participation in the study is important and appreciated. All teachers participating in the Write to Succeed study are invited to participate in the video observations; in addition to recording a full lesson, it should take about 10 to 20 minutes to set up the recorder. Your video will remain confidential, and will not be shared with anyone at your school or outside the Write to Succeed study team. The video observation data will be coded, and reported at the aggregate; in other words, we will not attribute any information from an individual observation in our reporting.
For any technical questions about equipment set up and recording, please contact Patrick Rich at [email protected] or 202-403-5233. If you have any further questions or concerns about this observation, please contact the study project director, Dr. Lisa Hsin, at 410-916-0219 or [email protected]. If you have concerns or questions about your rights as a research participant, contact AIR’s Institutional Review Board (IRB), which is responsible for the protection of project participants at [email protected], toll free at 1-800-634-0797.
Equipment
iPad
Tripod
iPad charger
Recording Reminder
Make sure the iPad is charged and connected to wireless Internet.
Do not adjust the tripod with the iPad in place. Set the iPad aside until the tripod is fully set up.
Position the tripod about 12 feet away from the center of your instruction and adjust to ensure that all students will be captured on the screen.
N
 ote:
For students whose parents have denied permission to participate in
the study, please seat them out of the view of the camera.
Expand the tripod base by pulling apart the three legs to create a stand. Use the column labeled with a yellow “1” and then the column with a blue “2” to add height to the tripod. Use the connector knobs to fasten the columns in place. The third column with a green “3” and the iPad bracket should be positioned at the top of the tripod stand. At full height, the tripod should be about four feet tall.
Note: If your room has a ledge or table that would be suitable for placing the recording device, you may simply put the tripod on top and adjust to the appropriate height.

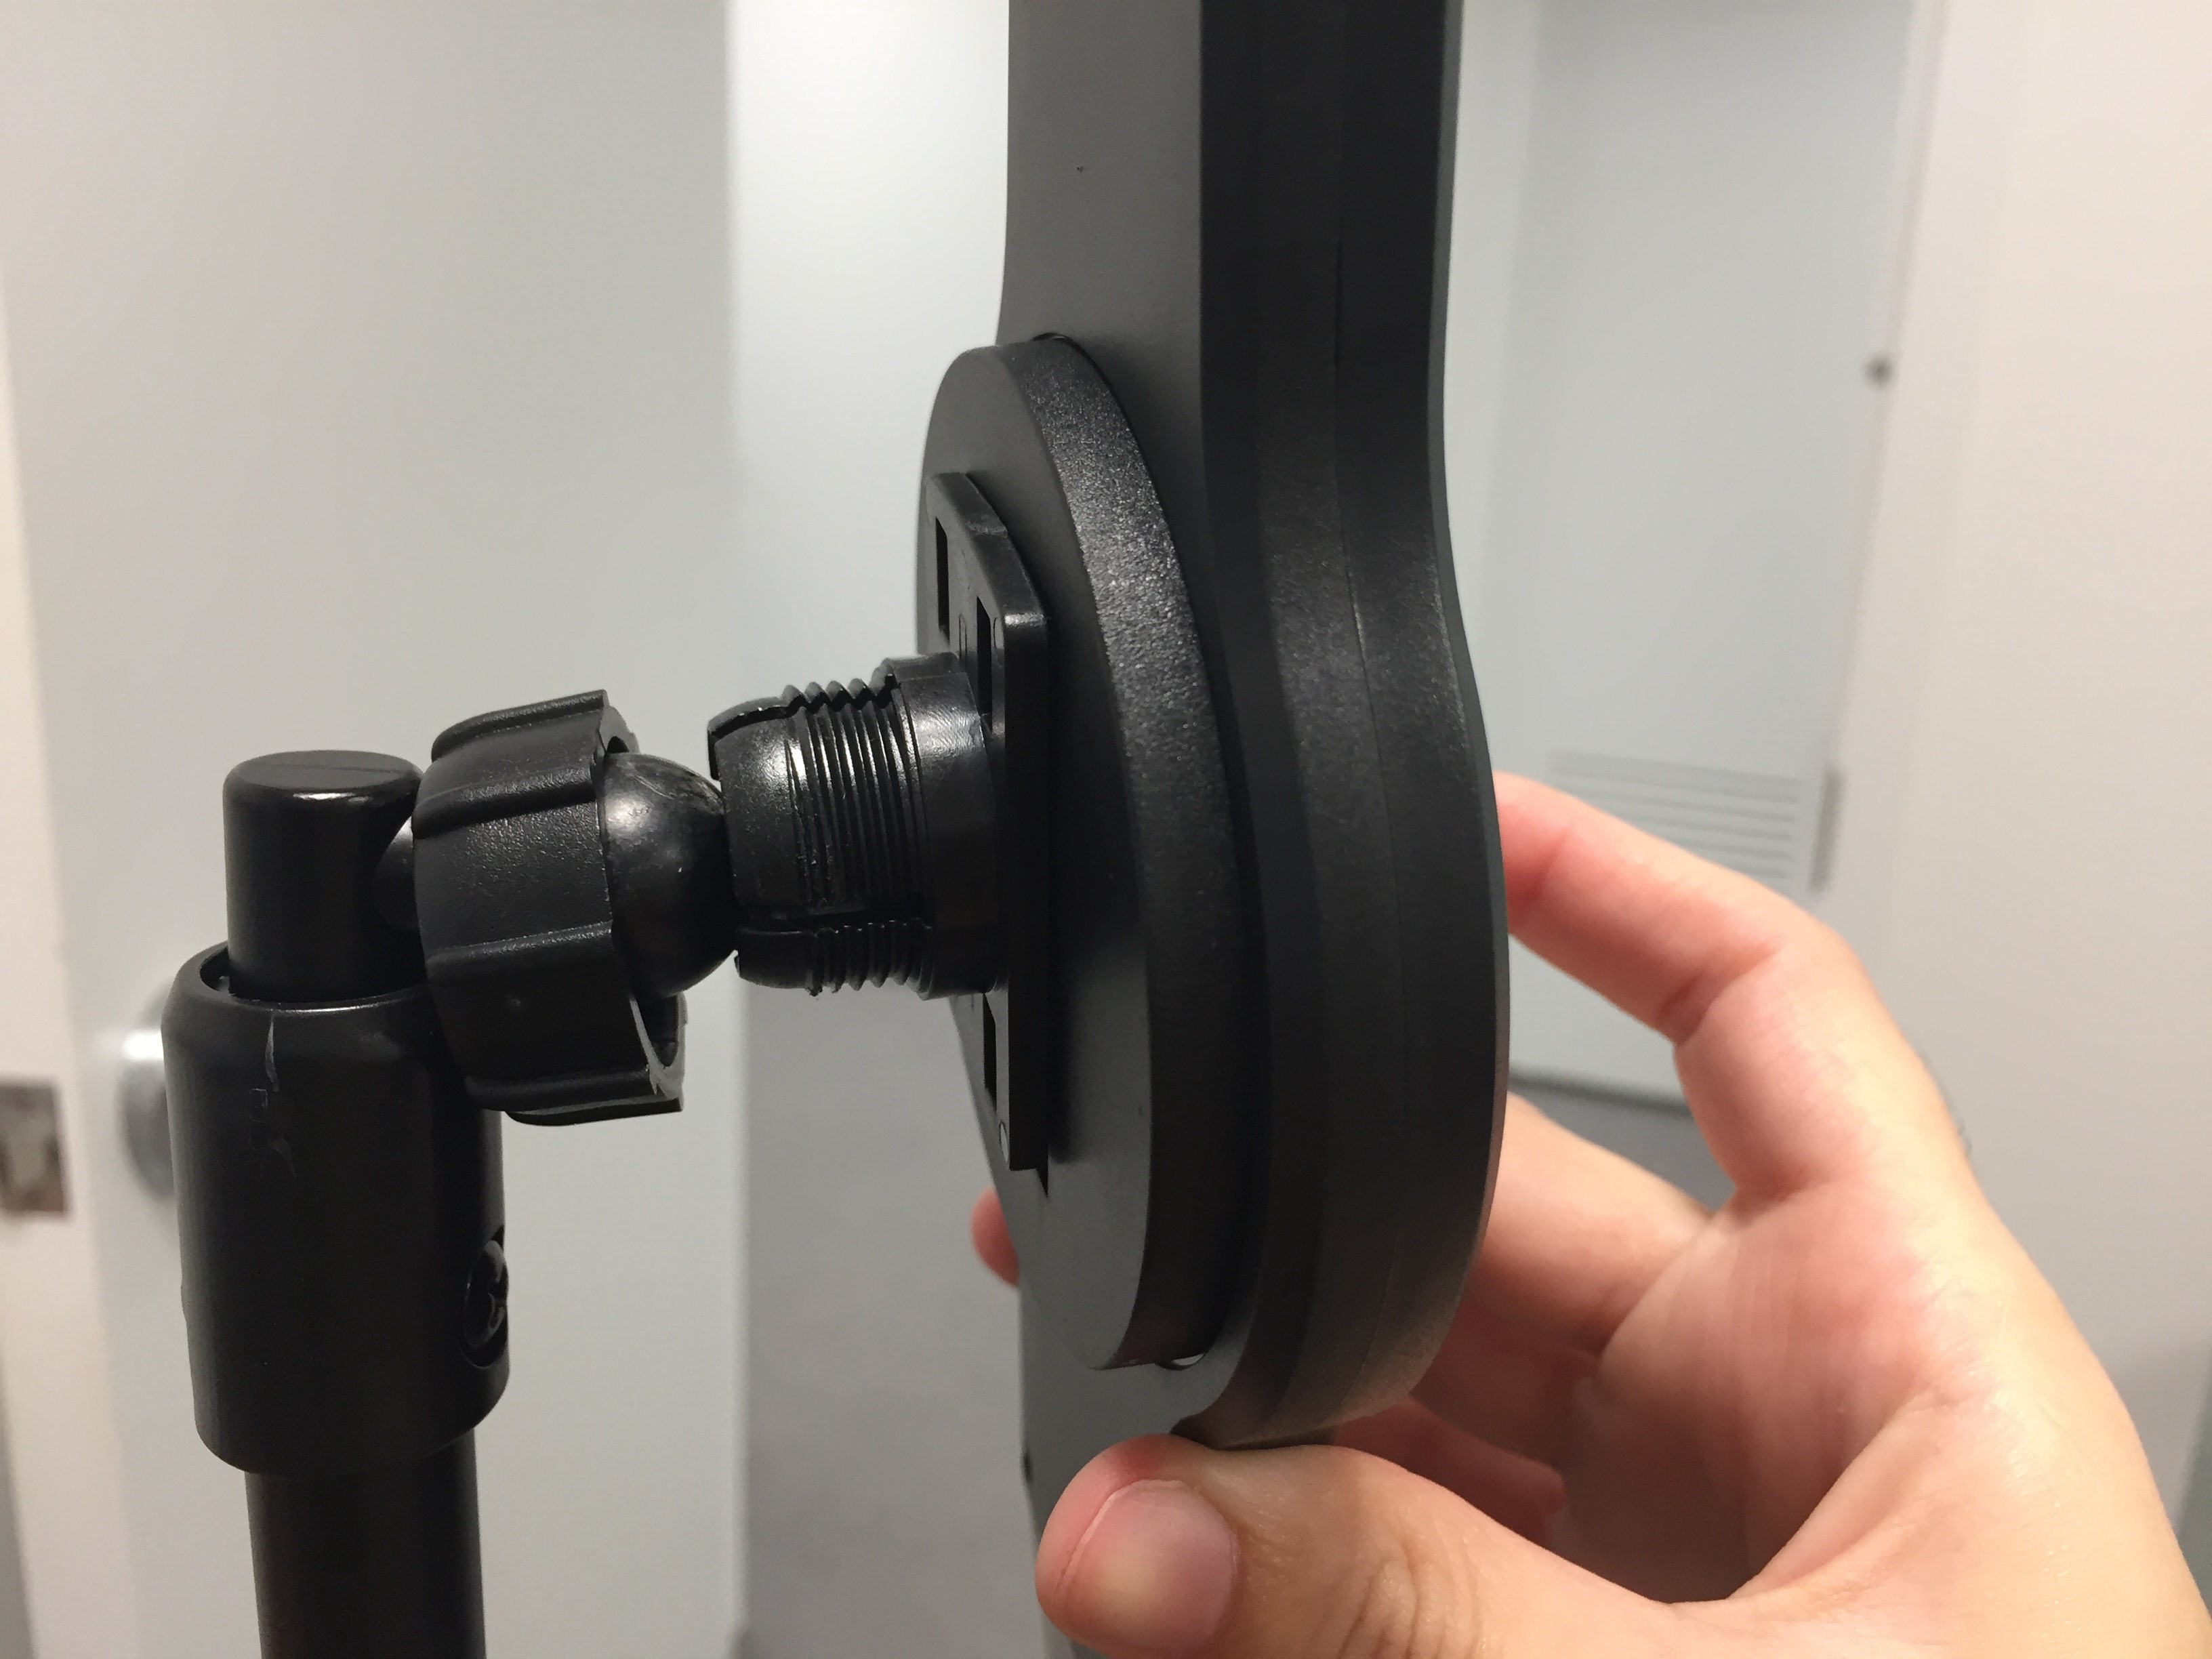


Secure the iPad into the tripod iPad bracket by fitting the arms of the bracket at a diagonal around the top left and bottom right corners of the iPad.
Adjust the iPad angle to ensure the camera does not capture overhead lights in the frame.
Recording
Before recording, make sure the iPad orientation lock is disabled. Swipe up from the very bottom of the iPad display to summon the Control Center. Locate the “Orientation Lock” button and tap it to toggle OFF.


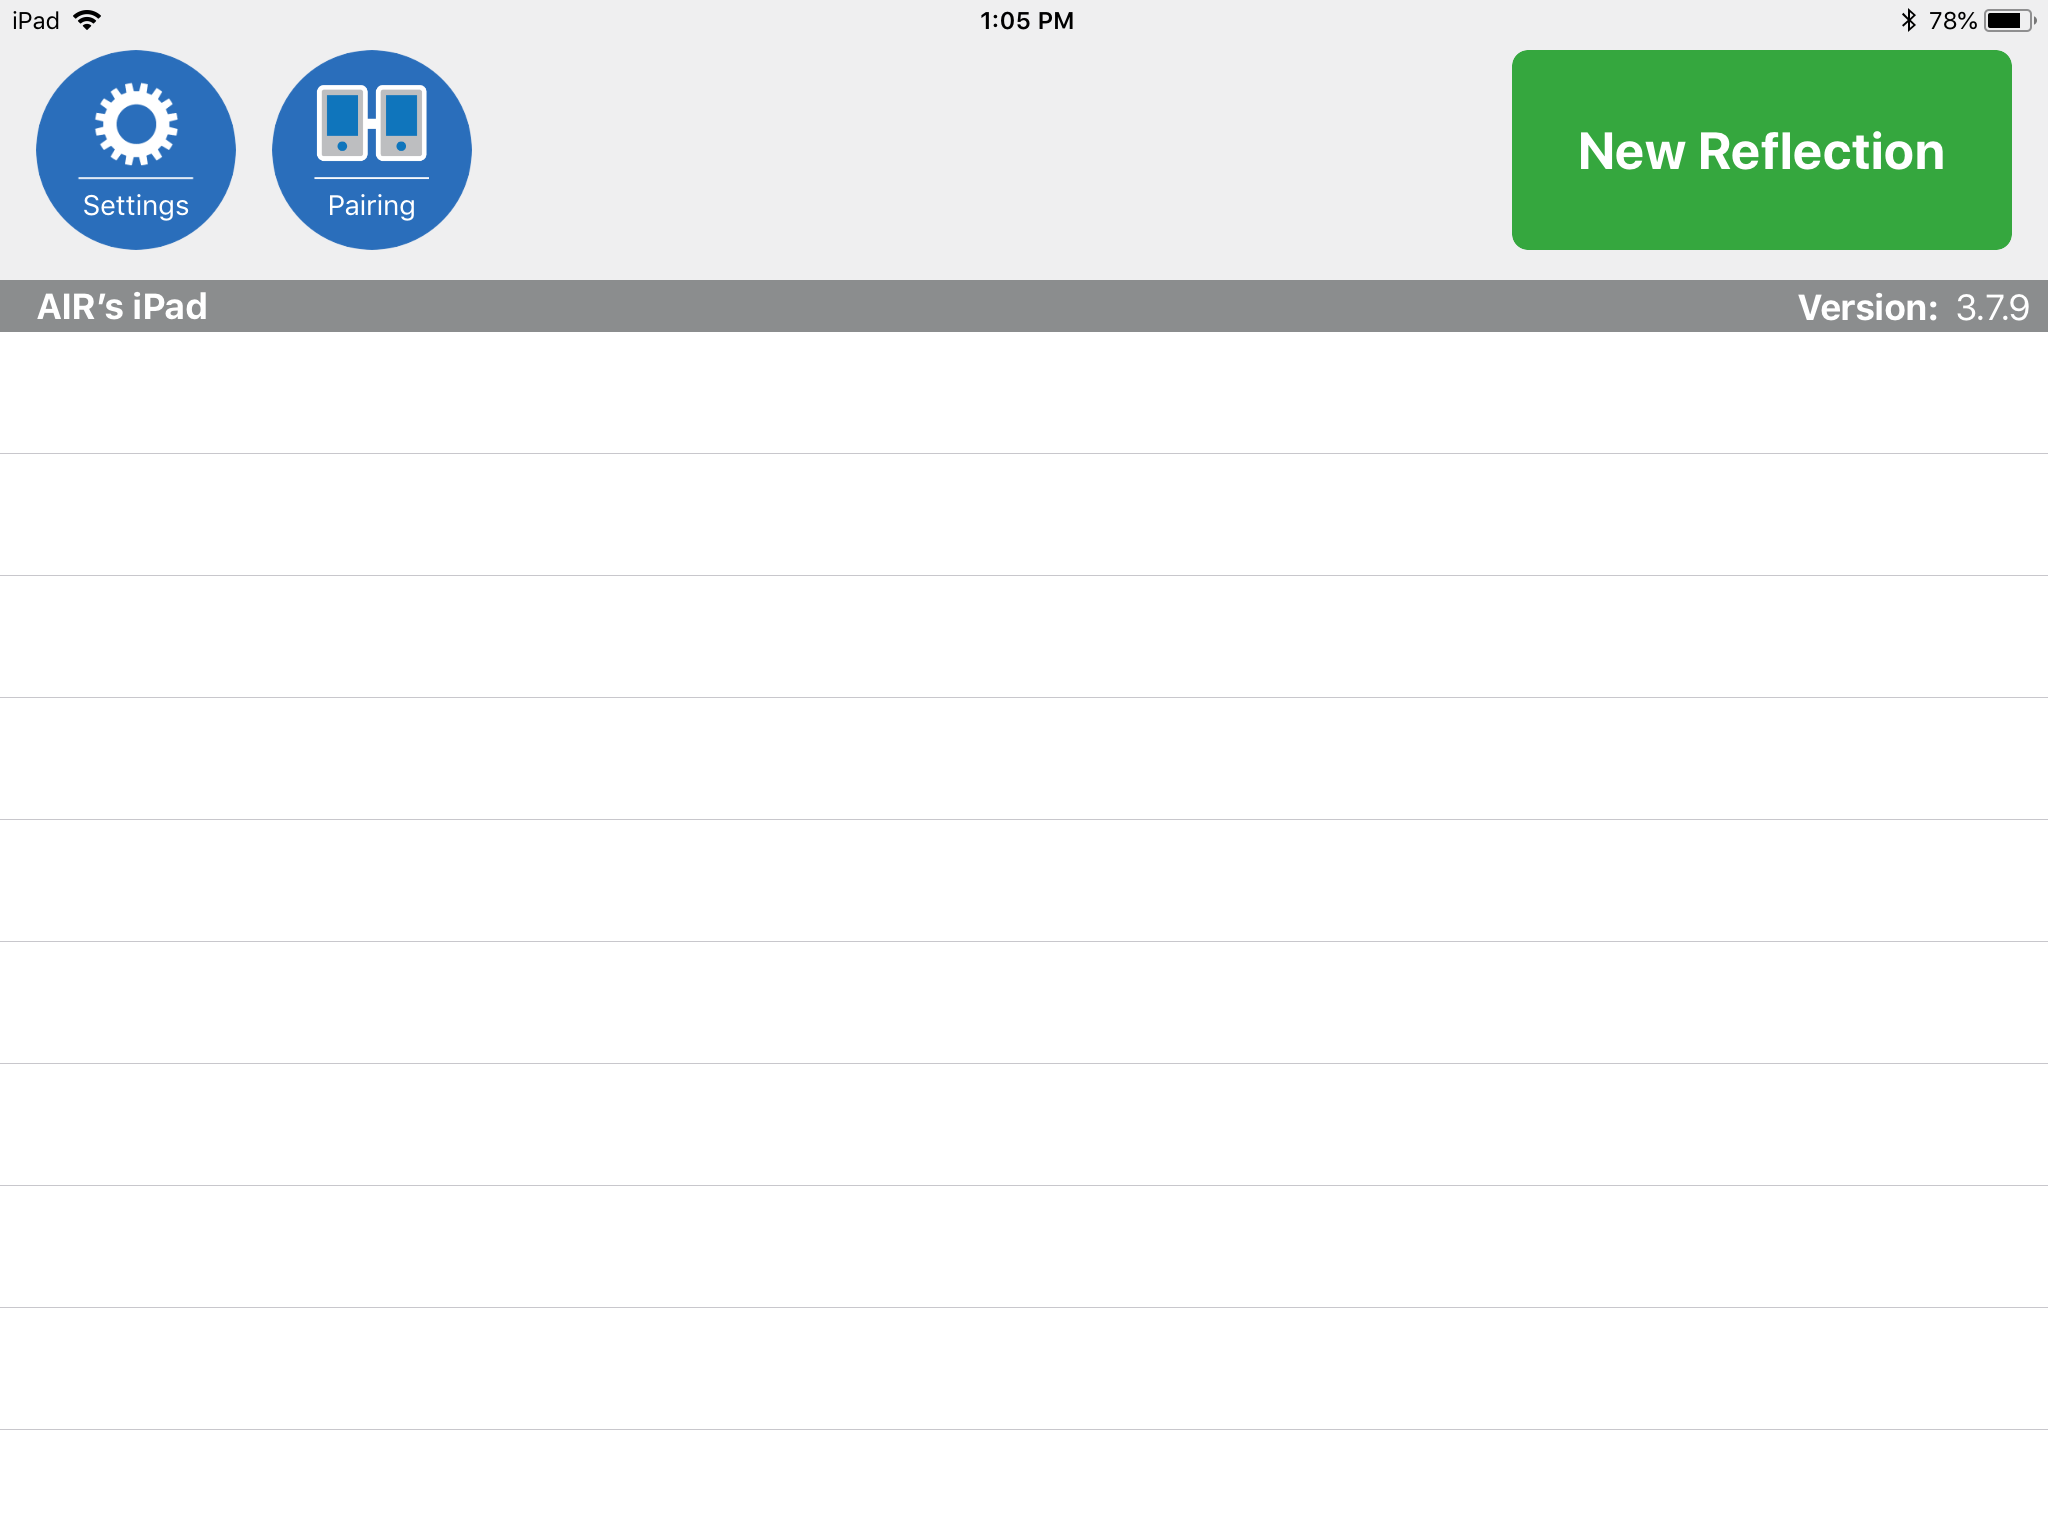
Locate the IRIS icon on the home screen and open the IRIS app. The app will open to the IRIS dashboard. Tap “New Reflection”.

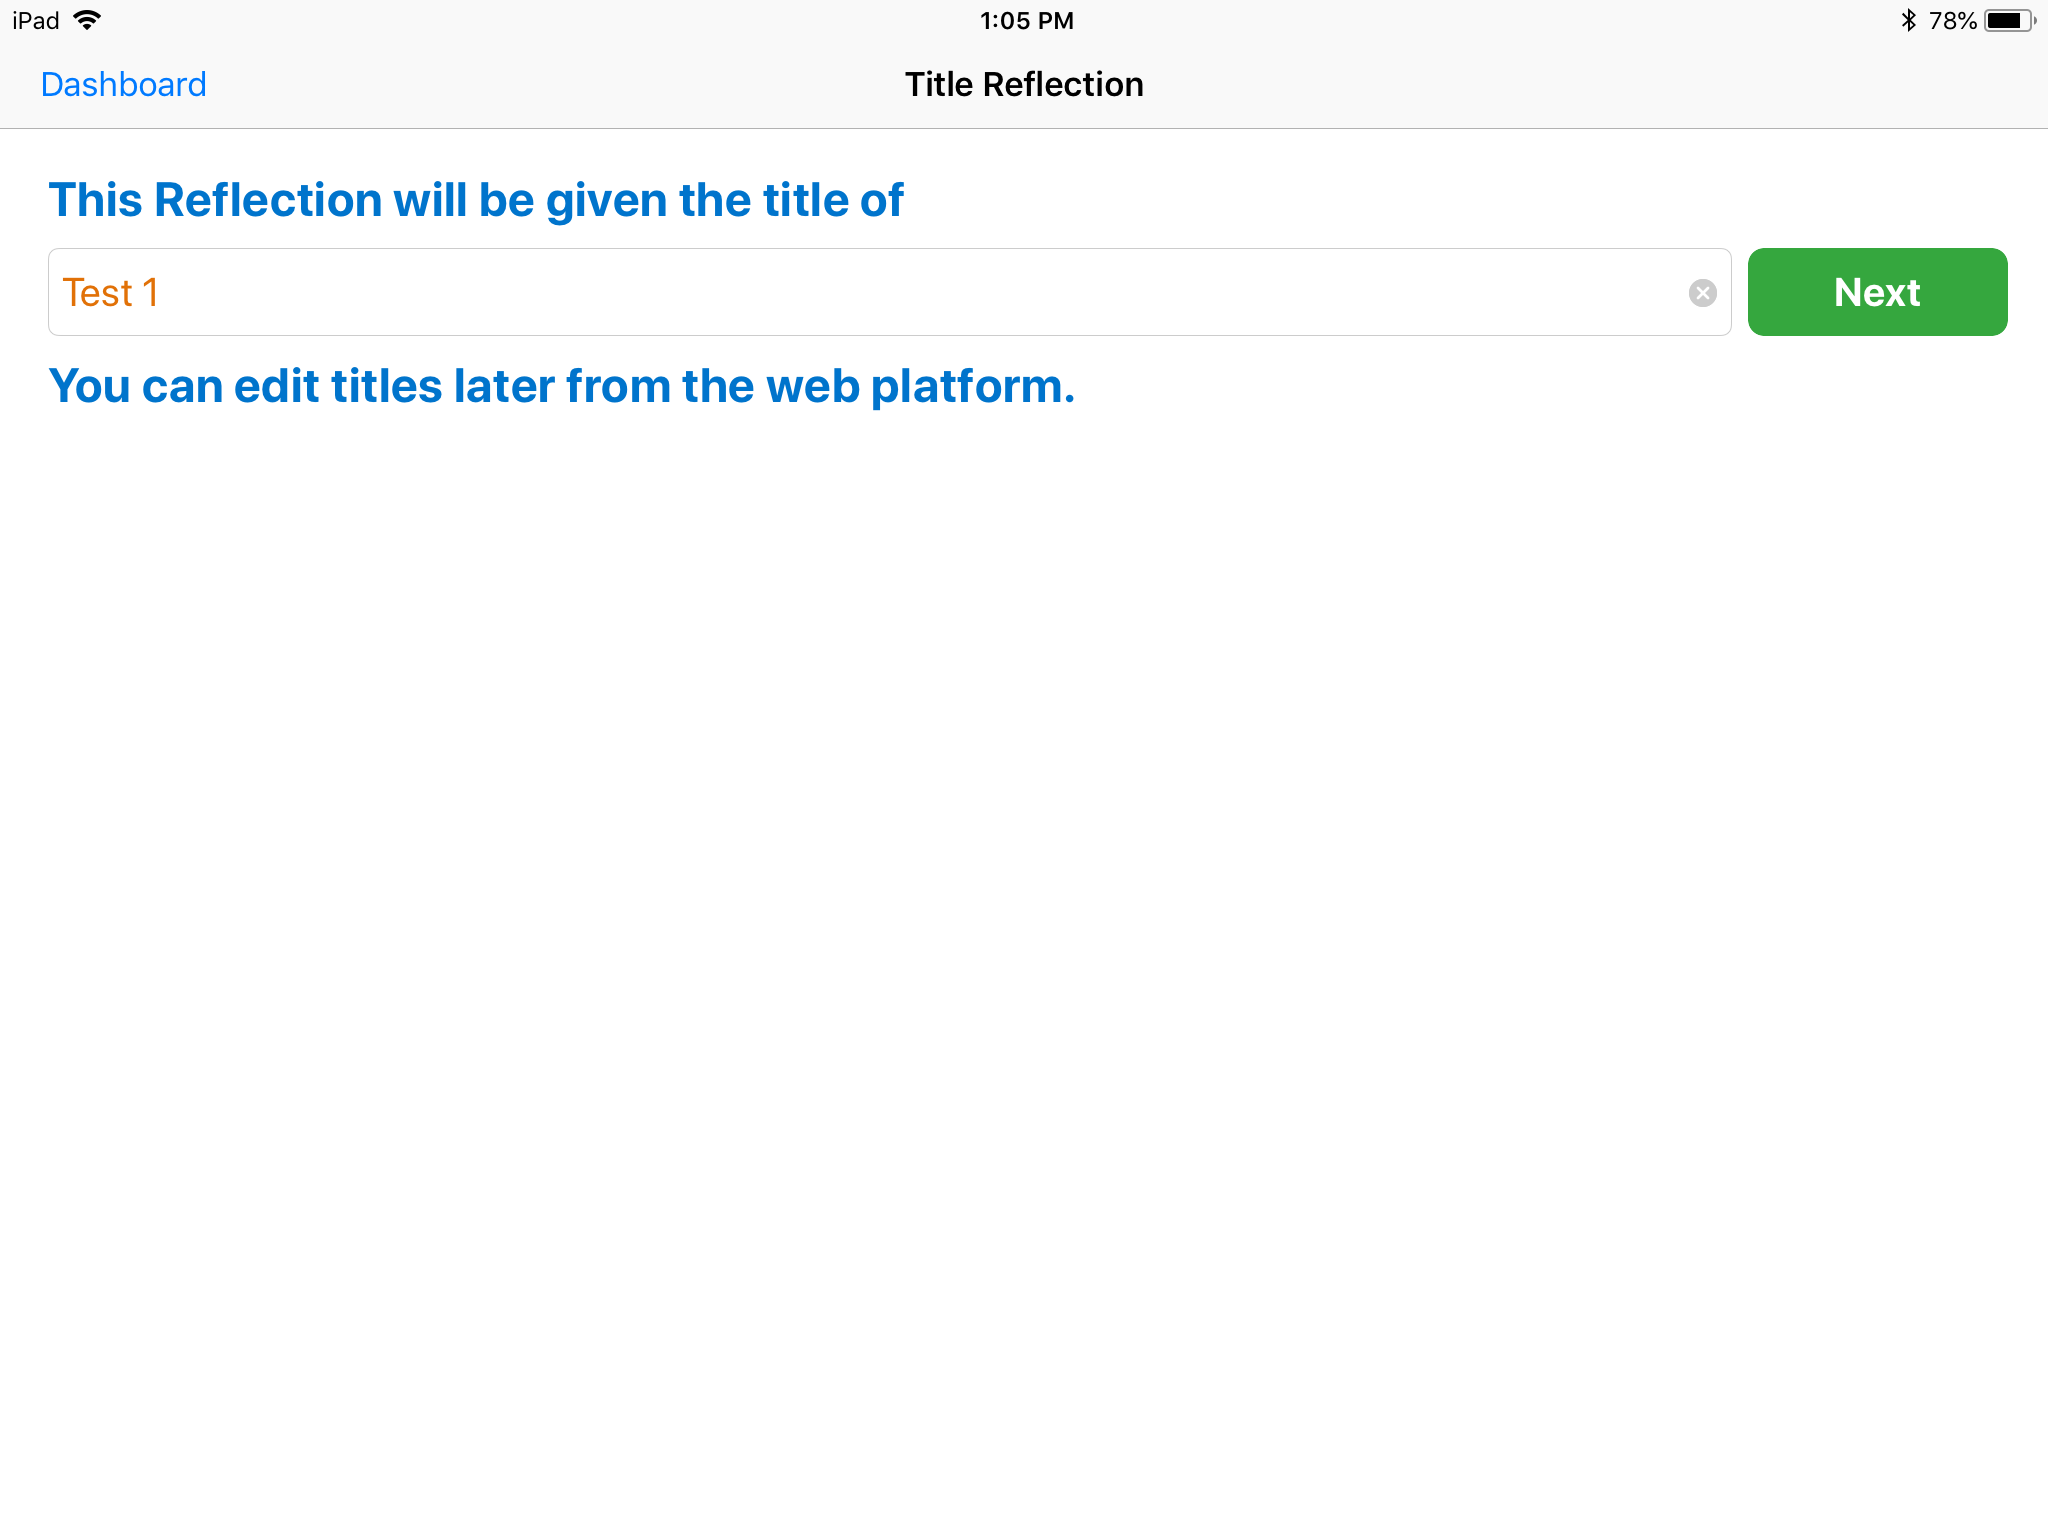
Title the video using your school name and the date. Click “Next”.
Choose “Single” device.

Click “Settings” and make sure that “Front Camera” is not selected.
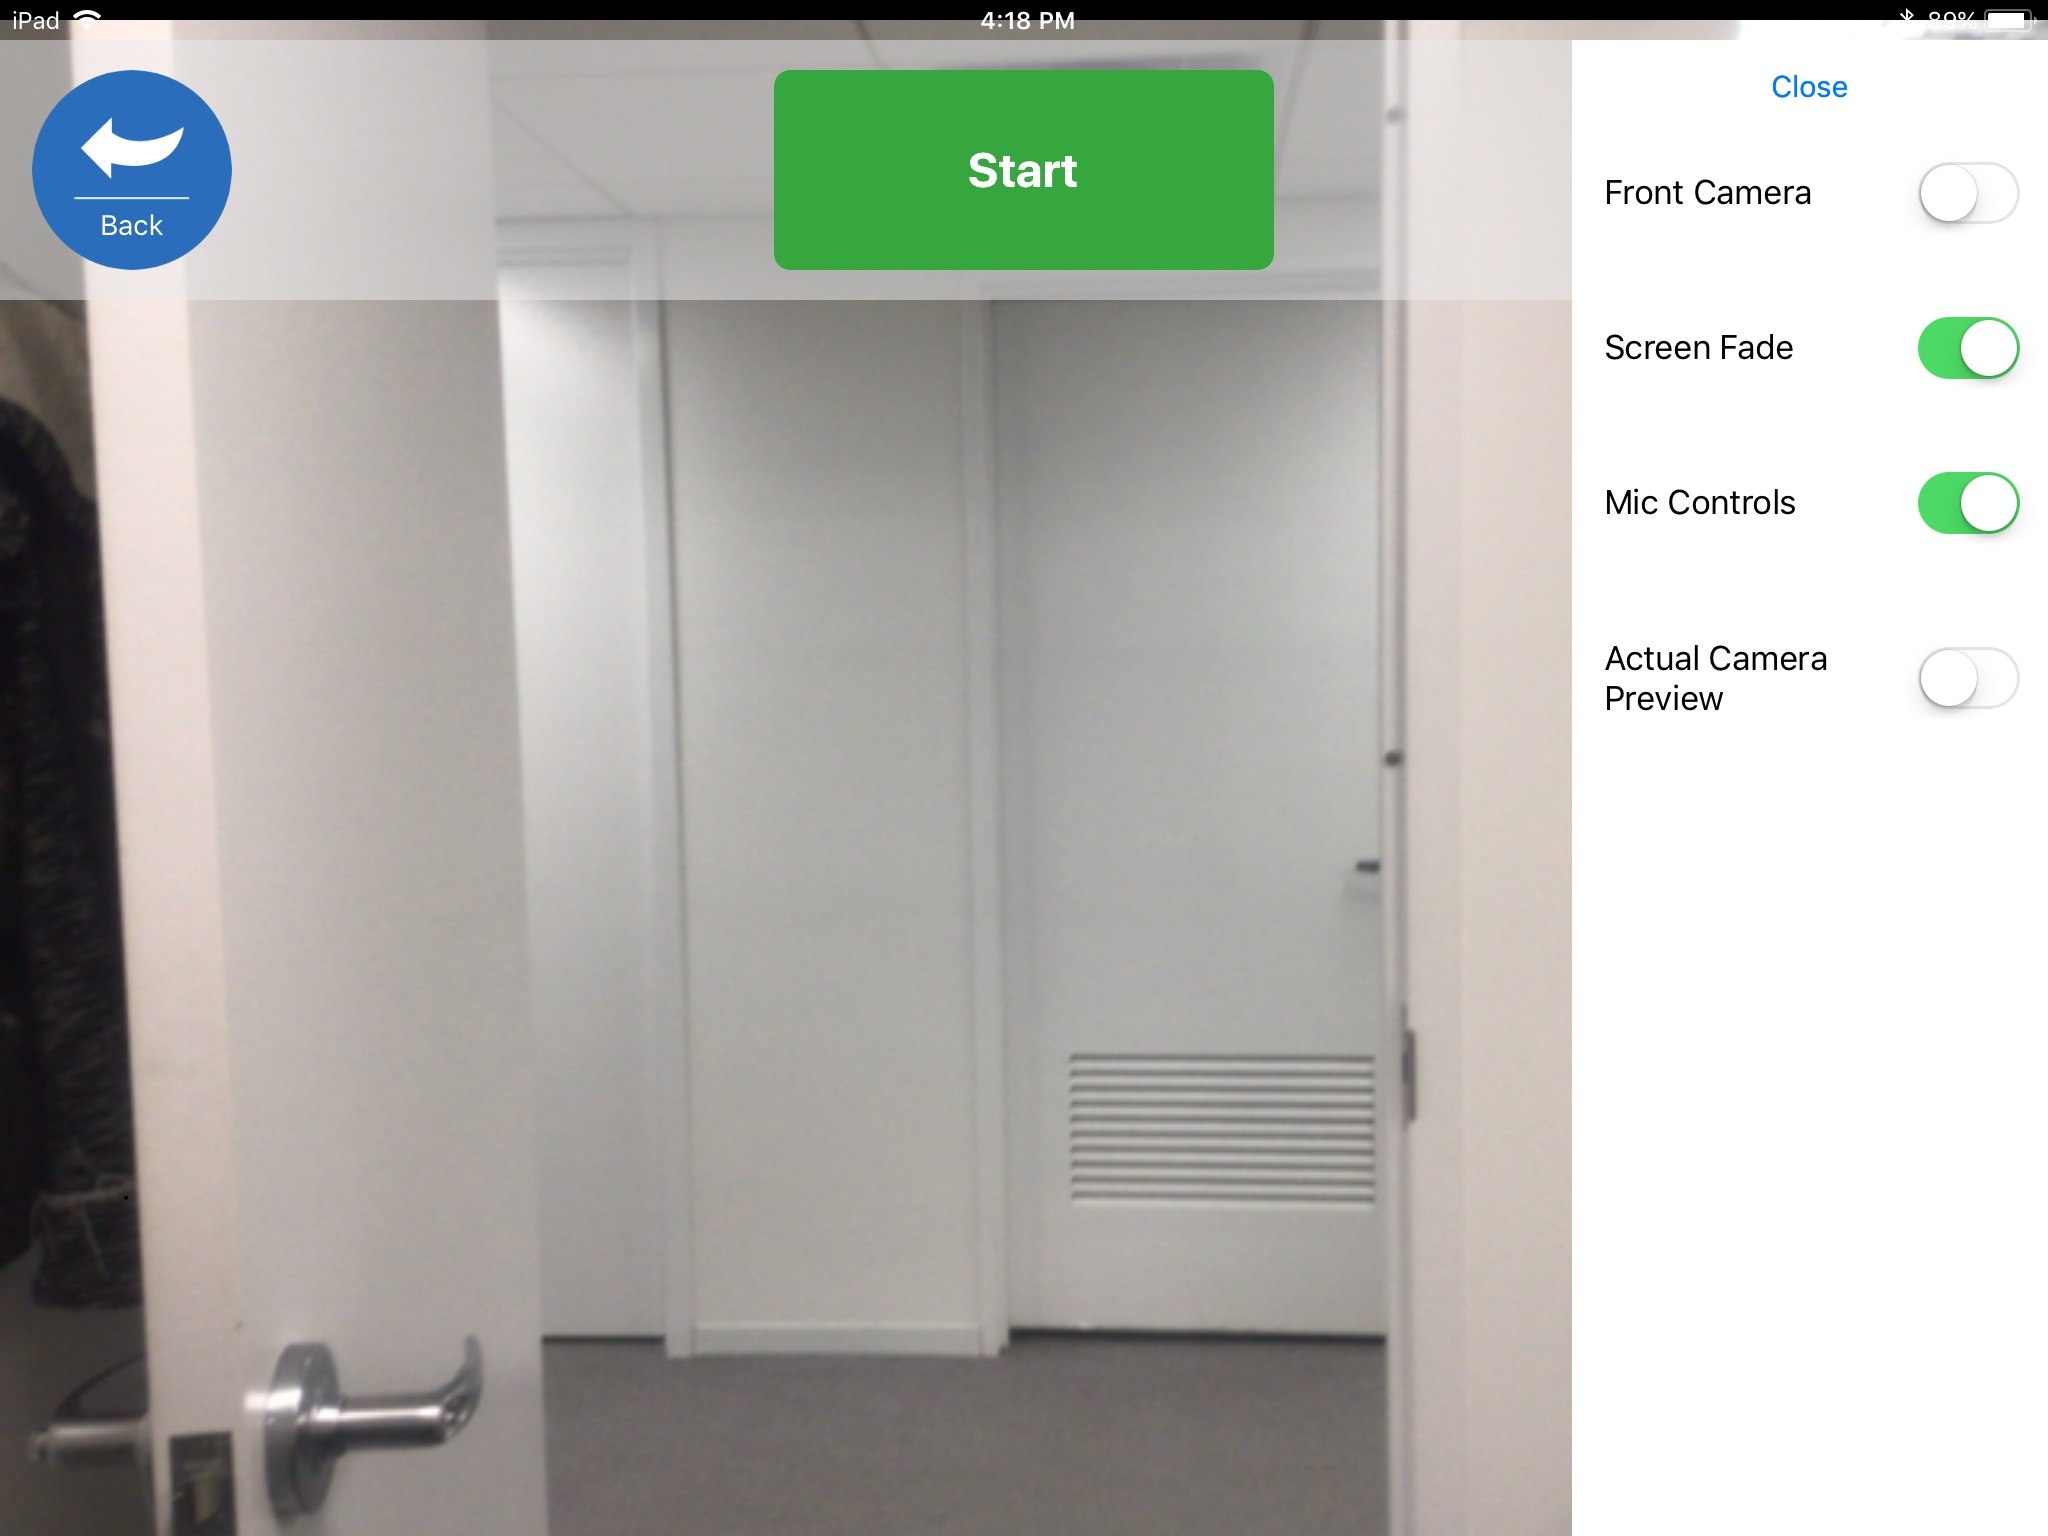
Click “Start” to begin recording. The flashing red icon on the bottom right of the screen indicates you are recording. During the first few seconds of recording, stand near the camera and show your unique study identification card provided by the AIR project team. When instruction is complete, click “Stop” to end recording.
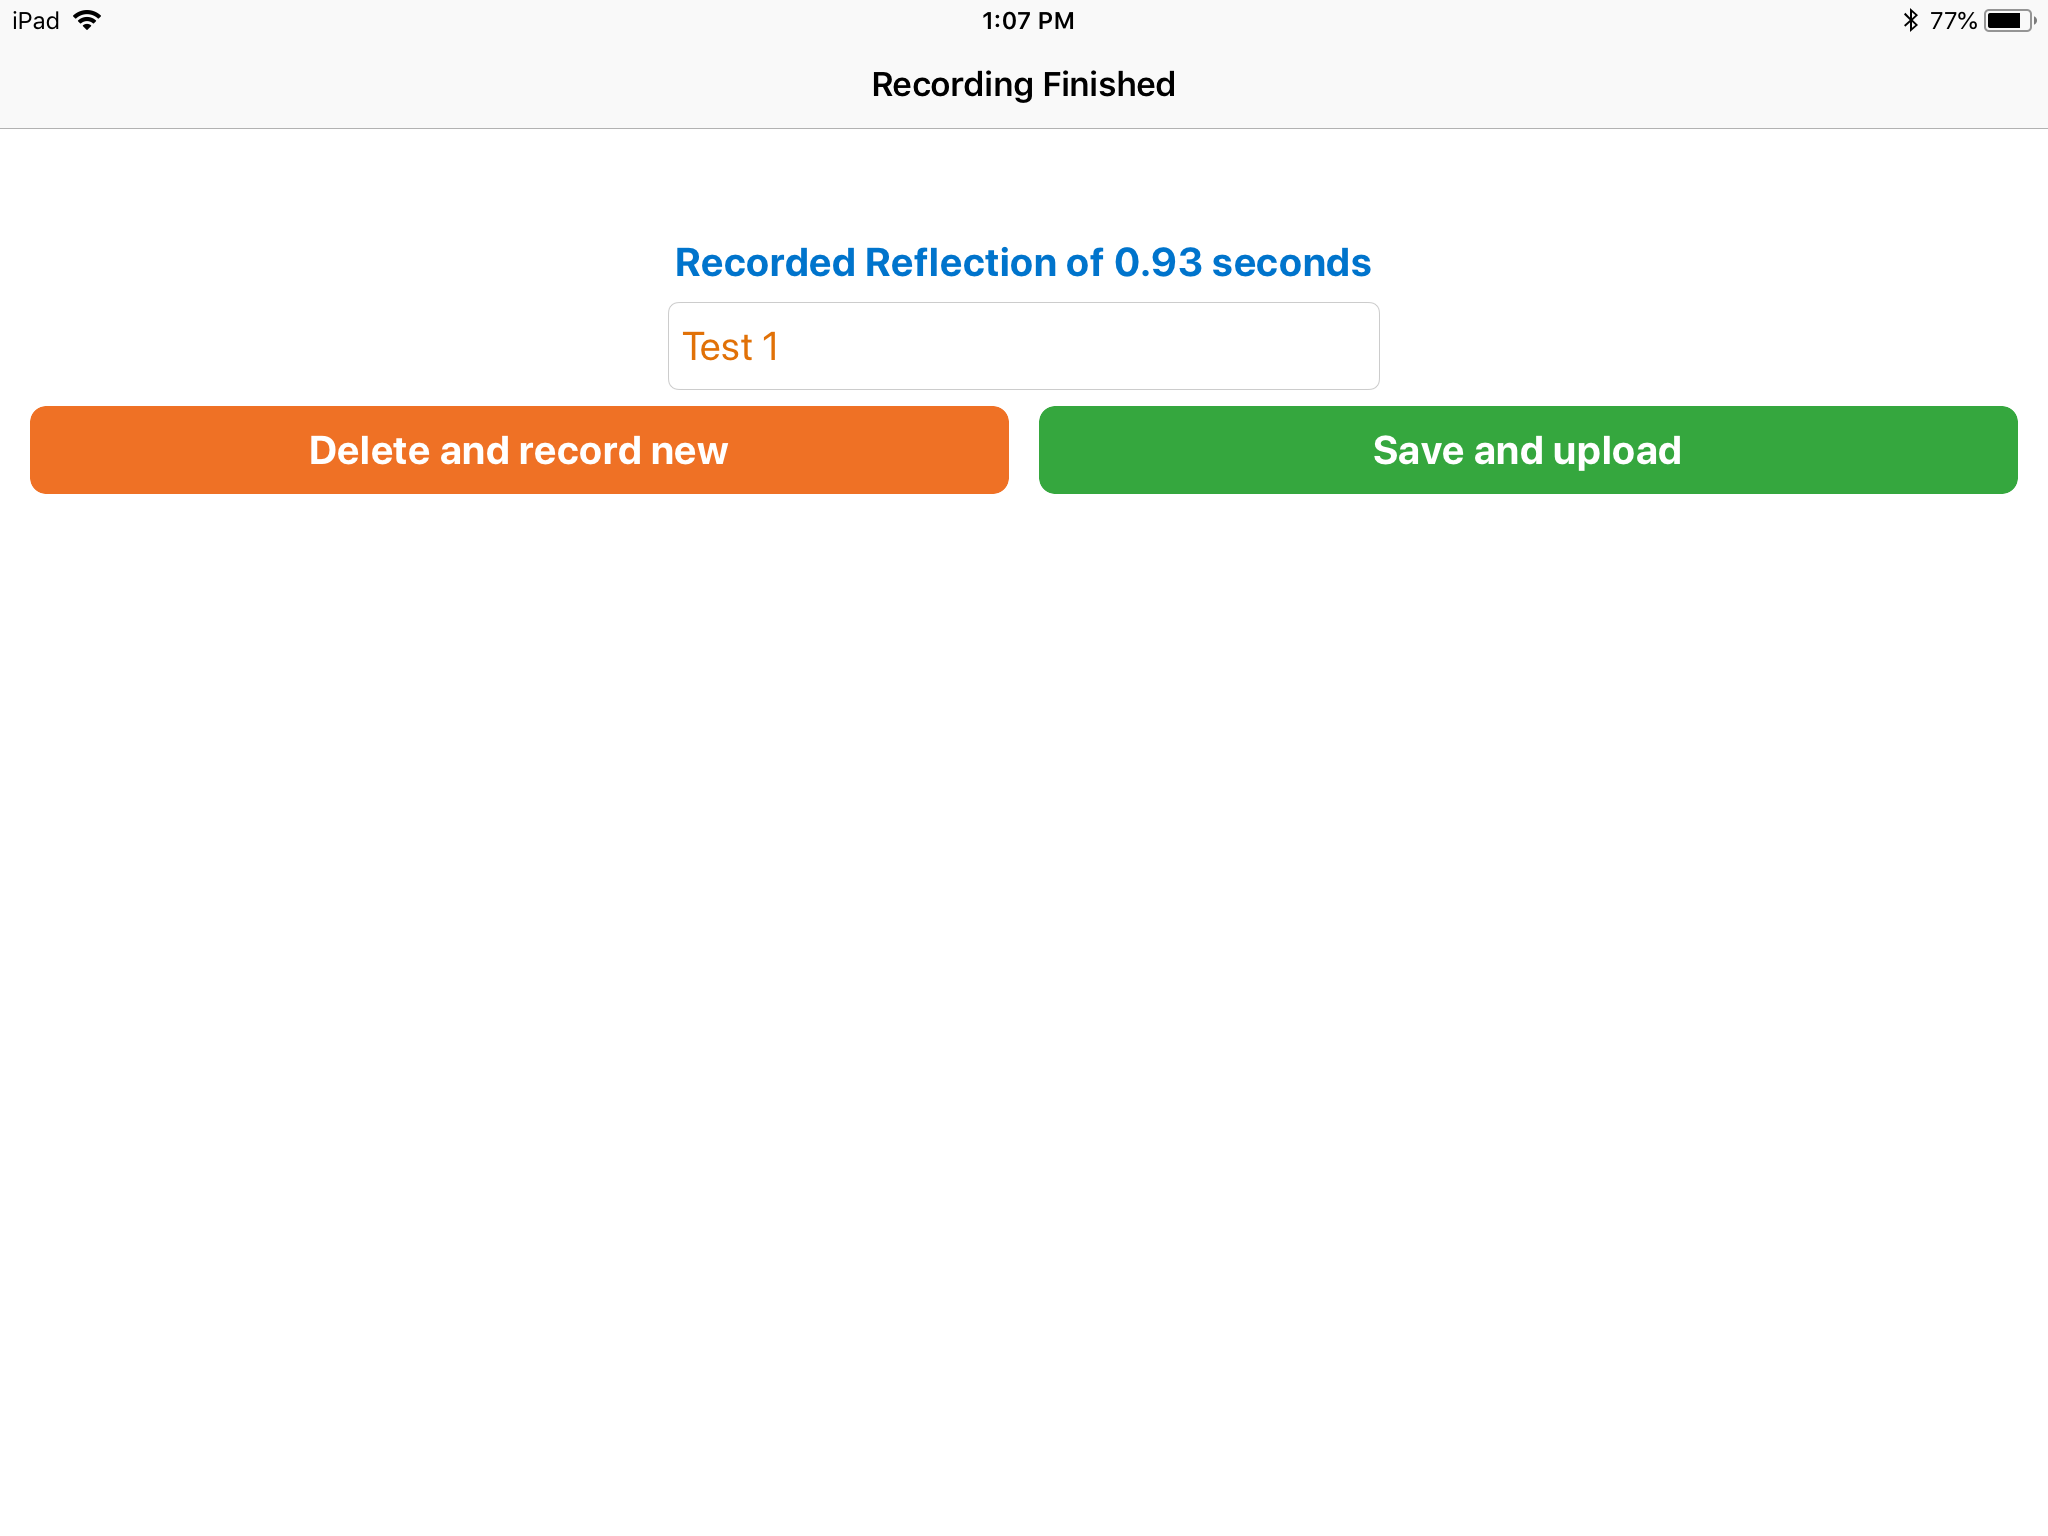
Click “Save and upload”. If the iPad is connected to the internet, the video will begin uploading and will show a blue progress bar. If the iPad is not connected to the internet, the video will say “Queued” and will upload as soon as there is an internet connection.


| File Type | application/vnd.openxmlformats-officedocument.wordprocessingml.document |
| File Title | Handout |
| Subject | Handout |
| Author | dsorensen |
| File Modified | 0000-00-00 |
| File Created | 2024-07-29 |
© 2026 OMB.report | Privacy Policy